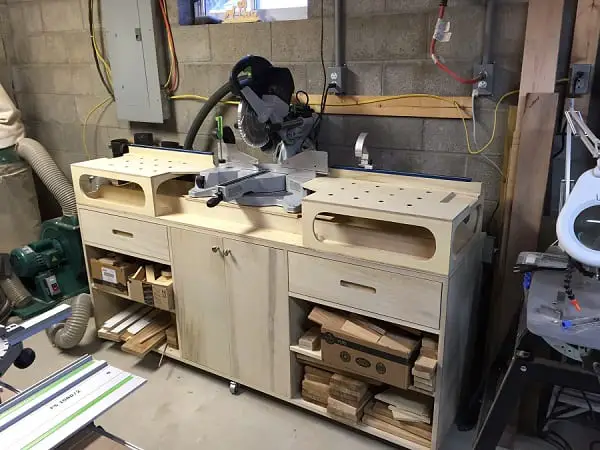
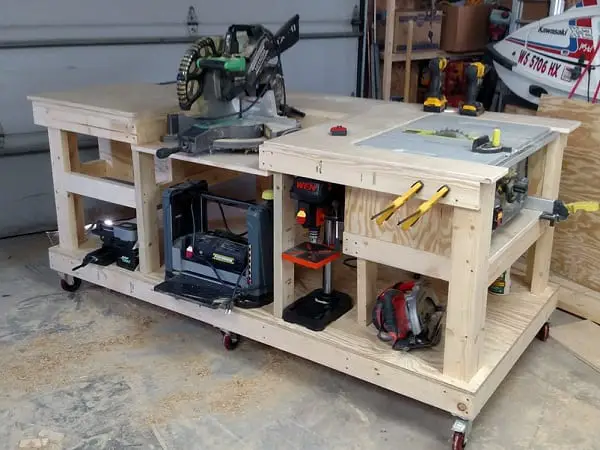
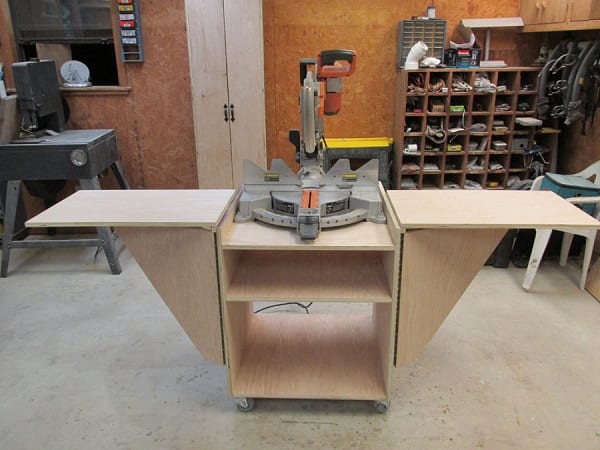
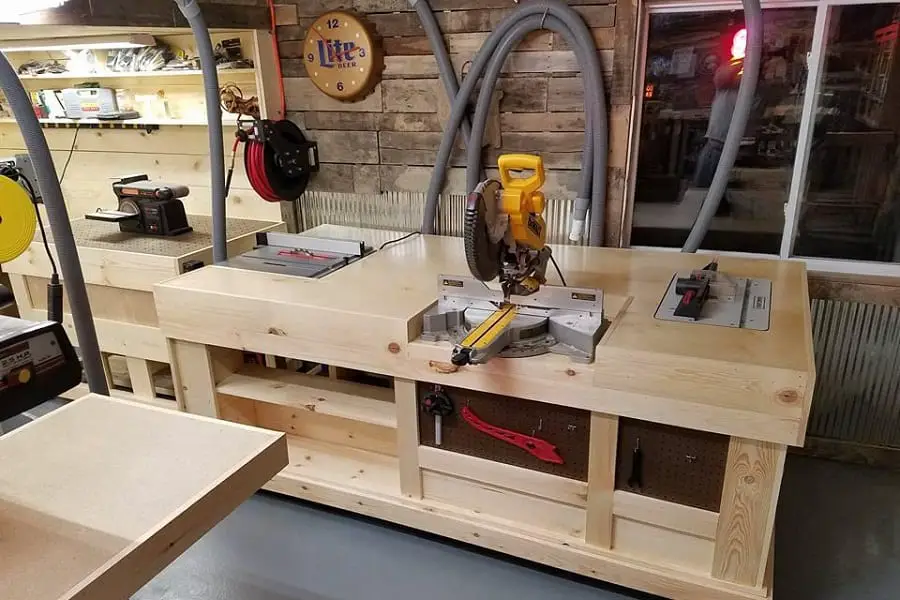
When you work with miter saws, whether in a home workshop or professional setting, there’s no doubt that having a stand can be a lifesaver.
These miter saw stands help to support this powerful tool and make it easier to move them around, as we all know just how much movement they need while we’re working on a project.
Rather than spending hundreds of dollars to buy a miter saw stand, we’ve come up with some miter saw stand plans so that you can make your own at home.
Making your own stand will be far more satisfying than using one already assembled, and every time you use your miter saw you’ll be reminded of your skills.
Contents
What Is A Miter Saw Stand?

Anyone who uses a miter saw for work will know just how tough it can be to maneuver them around. Just say you’re cutting some wood on your bench and finish up, so you move your miter saw to the floor to give yourself some space.
After some time, you find that you didn’t perform the right cut but your work is already locked into place, so it’s easier just to work with your miter saw on the floor. Not only is this uncomfortable and inaccurate, but it can also be extremely dangerous.
The miter saw stand was invented as a sturdy base for you to keep your miter saw at so that it remains sturdy and safe, and with most of them sporting wheels nowadays, it’s completely mobile.
This means you can use it when you need then wheel it away and give yourself space, perfect for the workshop with minimal room to move.
Why Should You Make Your Own DIY Miter Saw Stand?

There are plenty of options out there to buy a miter saw stand, but there’s no need to throw away perfectly good money when you’re more than capable of doing projects like this yourself.
Here are a few reasons why you should make your own DIY miter saw stand:
Satisfying
There’s nothing better than making your own projects, and it’s even better when you get to use something you built every time you get your miter saw out.
This will feel greater than spending money, and you’ll know how to make a new one when the time comes.
Custom Built
Many manufactured miter saw stands come with one height only, so they don’t always fit the average user.
When you create your own miter saw stand, you can customize it to suit your body and your saw.
Easy
Why would you spend money buying a miter saw stand when they’re so easy to do? Most saw operators could easily build this in the afternoon and it will give you years of use.
Fun
This is a simple task that you’ll actually love to do and will provide a bit of entertainment to work on.
If you have younger woodworkers around, this is a great job to get them involved on, as it’s relatively easy to make.
How To Make A DIY Miter Saw Stand

Now that you know how many benefits a miter saw stand could have, besides being just practical, you can get started on creating your own.
There is quite a few miter saw table plans out there, and each can be customized to suit your needs, but here’s one that isn’t too difficult to follow.
- Start by finding the height of the miter saw’s deck by measuring it with a marking gauge, and ensuring you have it correct. This measurement must be proper so that the height of the outfeed and feed line up with the miter saw.
- Take a sheet of plywood (around ¾” birch) and mark out the pieces. You’ll need to cut out the two sides, two top pieces, and four panels, so an eight food sheet will do. With any remaining pieces, you can make smaller items like the feet of the saw stand.
- Next, mark the notches on the two side pieces you cut earlier. The width of this needs to correlate with the width of the miter saw’s swing of the bevel and then a further six inches added to it.
- Use a combination square to set the table saw fence to the proper depth and then make an upside down plunge cut to start. Finish with the crosscuts and cutting out the notch. Repeat the same cuts on the second side piece with your circular saw.
- Using a large, flat surface, you can now connect the two side pieces. Hold them upright with the box ends between them and then screw gussets into them. Screw the corners together making sure they are flush and then remove the gussets and place the top on.
- With your leftover plywood, you can make some skids with two large pieces and a top and bottom. Cut away at the bottom of the skid so that it fits between the sides, using a chamfer cut. Finally, screw the skids in place and then attach the saw to them to keep it stable.
Give Your Power Saw the Home It Deserves
Whether you’re an amateur woodworker or a use a saw in your daily profession; there’s no denying the importance that these tools have.
As we can easily spend thousands over our lifetime investing in tools like miter saws, it makes sense that we take care of them and keep them safe from damage.
Building your own miter saw stand is a straightforward way that you can protect your saw from damage and make it easier to operate, giving you a win in both directions.
Just by following a few simple steps, you can benefit in so many ways when you have a miter saw stand in your workshop, and it couldn’t be easier to achieve.


