When looking to invest in a table saw, it’s crucial that you find one that matches your exact needs.
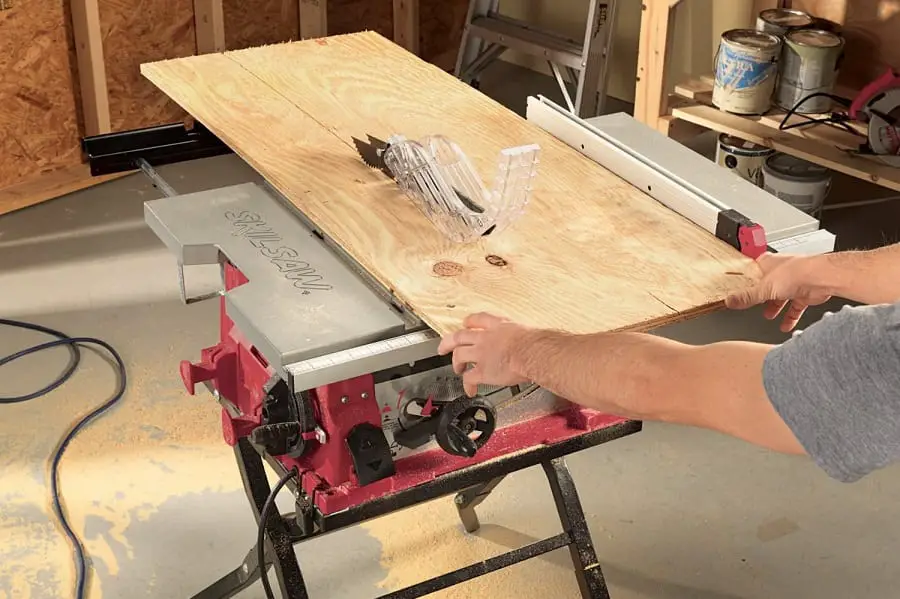
Benchtop table saws are also known as portable table saws because they are small enough to move from one side to the next. You will, however, have to provide a stand or table yourself for these portable saws. Ultimately it’s good for use at home; however, it’s not a heavy-duty table saw.
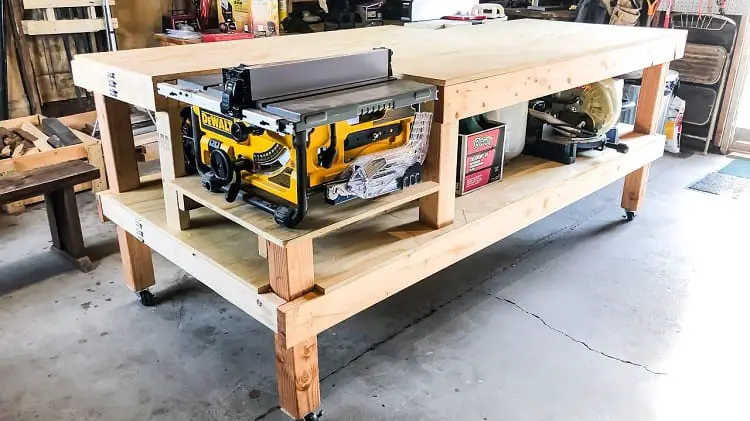
On the other hand, if you do have a heavy-duty table saw, you need a sturdy table to store it and work with it on. While there are lots of tables saw stands on the market, it may not switch your requirements will be exactly what you are looking for.
If this is the case, then you’re better off completing a DIY project and creating your very own table saw stand. If you enjoy DIY projects, then this will work in your favor. However, the question remains, can you create your own table saw stand at home? Well, the short answer is yes, you absolutely can.
In the following guide, we’ll take a look at the step-by-step instructions on how you can create your very own table saw stand in the comfort of your own home.
Contents
Step by Step Guide for Creating Your Own Table Saw Stand
TOOLS REQUIRED:
- Screwdriver
- Corded/cordless drill
- Hacksaw
- Jigsaw
- Hearing protection
- Safety glasses
- Utility knife
- Table saw
Step 1
Before beginning your table saw stand project, you need to start by taking a few pieces of birch ply and cutting them to size. So for a standard heavy-duty table saw, these are the measurements or metrics you need:
Cut list – 18mm plywood
- Bottom : 748 x 600mm
- tall side: 730 x 812
- low side: 482 x 730
- Back side: 812 x 600
- outfeed table: 600 x 700
A few other pieces may be required as you are building the stand; however, you can use your discretion when it comes to cutting and fitting in the pieces as you go along.
Step 2:
The next step will involve building the carcass from the pieces that you have cut. You can start by using some 90° angle pieces of MDF and cut corners off before drilling holes in them. This would allow you to use them as an angle guide when assembling projects.
For fastening, you can pre-drill holes and then drive drywall screws through as they have a lot of good grips and are also cheaper to use than any other option. The construction should come out quite stable.
Step 3:
To ensure that the saw would fit on the stand, you should put it on the carcass. This will let you know if you need the saw to be adjusted for height and to check whether the material you’ve got will pass the upper edges.
Step 4
Your table saw will be quite heavy, especially if it’s a heavy-duty one. So you need to be able to move your table around easily. In order to do this, you can add on a couple of plastic wheels at the bottom of the table saw.
Ultimately the wheels will also raise the height of the table so you should use your discretion with regards to the wheels you’re using. You can then make two simple blocks off 18 mm plywood that you screwed on the sides of the table.
Step 5
In order to adjust the outfeed height of the table saw, you should put a straight edge on the surface of the saw. Thereafter adjust each foot of the table saw to make sure there is a passing height of 1 mm above the edges of the sides.
Ultimately this ensures that materials will not get caught in the edges when you’re pushing through the saw blade. Ultimately you want to avoid this at all costs as it could potentially be dangerous having to reach over the saw blade to dislodge any material.
Step 6
Cut a support base in 45° on each end in order to support the folding table at 90°. Thereafter make two blocks with 45-degree ends and mount them, so the braces are in the right position so that the table is flat with the surface of the table saw.
The folding table can be mounted with an automated with an ordinary folding hinge, and this ensures that heavy materials will not damage it. The sides can also be angled on the support base, and this allows it to be stored in a French cleat system on the folding table. Ultimately, it makes transportation and mobility convenient.
Step 7:
Ultimately, the process of creating a table saw stand so it can work as a folded and unfolded table saw stand is easy. So even if you decide to change your table saw sometime down the road, you won’t necessarily have to re-make a table saw stand.
DIY Table Saw Stand

Completing a DIY table saw stand project is made easy if you have a table saw.
Although you can choose to cut each piece of wood by hand, a table saw makes it precise, and efficient. However, when conducting this DIY project, remember that you always want to measure twice so that you only have to cut once. And thanks to your handy, heavy-duty table saw, cutting will be fast and accurate.


